
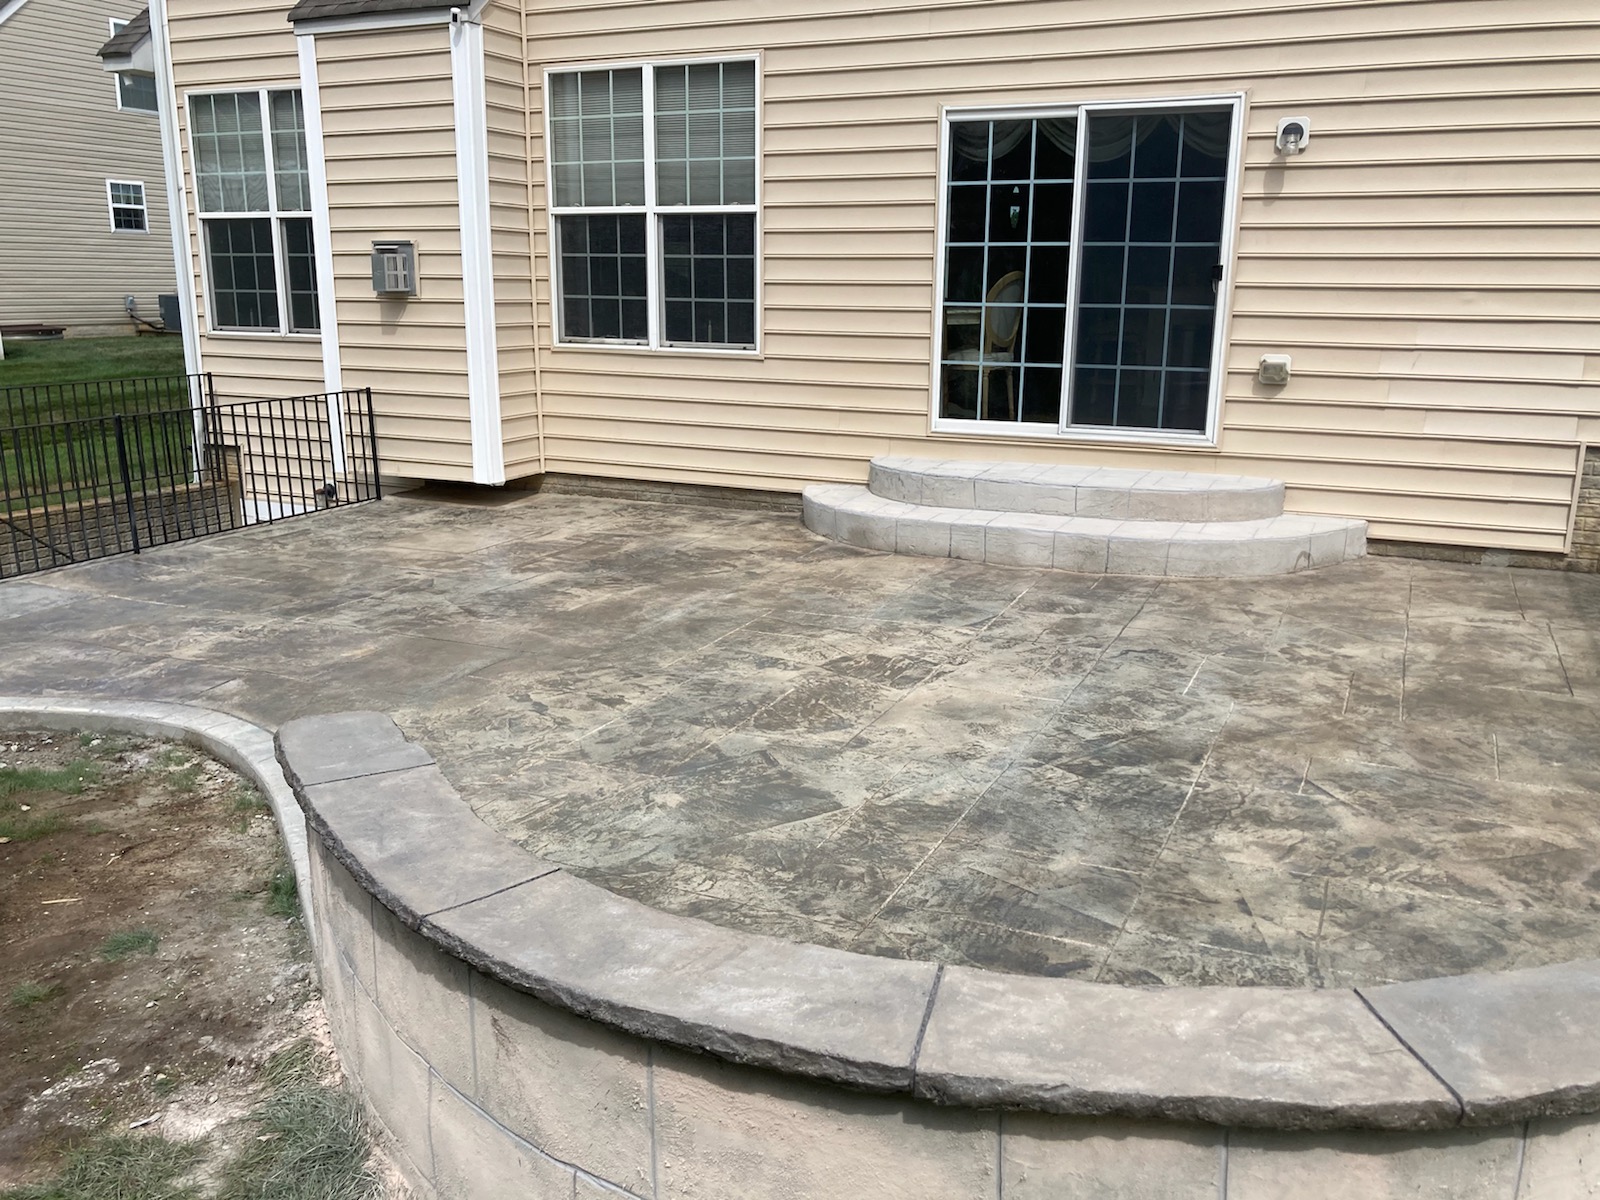
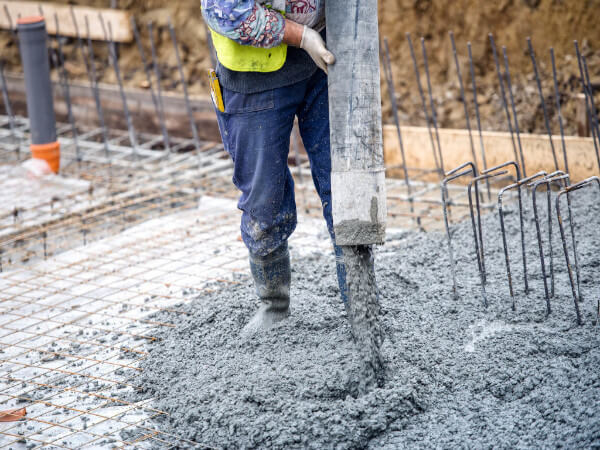
Stamped Concrete is a concrete overlay that is designed to look like other building materials. Because it is made of concrete, it can be easily shaped to match other...
Read More
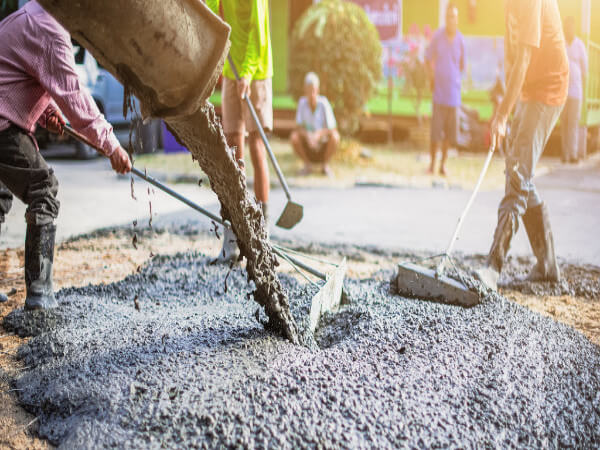
Which Type of Concrete is Right for Your Home?
Which type of concrete is right for your home? The answer to this question can be complicated because there are many different types of concrete available–each with their own...
Read More

What to Expect From a Data Science Bootcamp
The central portion of a Data Science Bootcamp is broken down into three sections. The first will cover data wrangling, structuring, and transformation, which is necessary to prepare data...
Read More

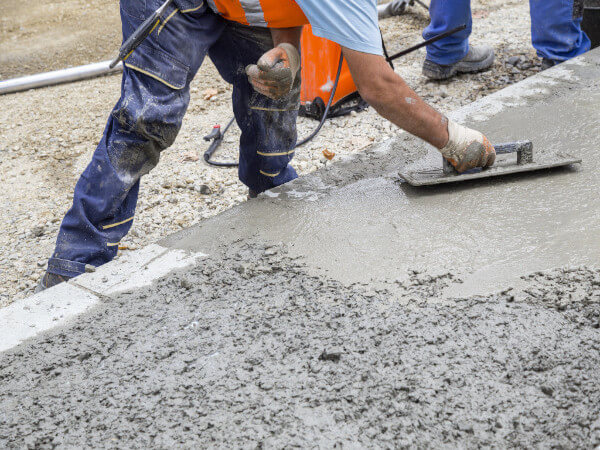
Dec 16, How To Use Self Leveling Concrete (Video Tutorial)
I’ll show you how to use self leveling concrete to repair, resurface and level and old concrete floor. This is a step by step guide that’ll teach you how...
Read More
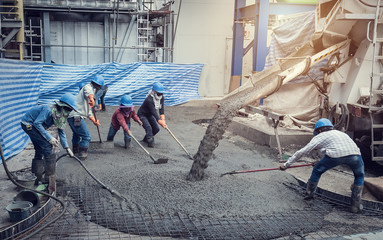
Break Tests vs the Maturity Method
Every year, contractors all over are looking to improve their concrete building practices. For many this past year, that has likely meant fine-tuning their logistics to adapt to the...
Read More
What Gravel is Best for Driveways?
Gravel driveways are popular because they’re inexpensive, durable, and require little maintenance. You can choose from many different types, including crushed stone, pea gravel, quarry process, and more. But...
Read More
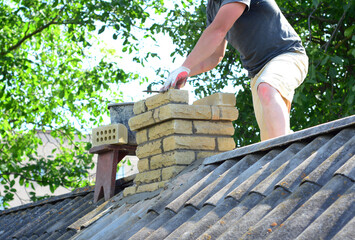
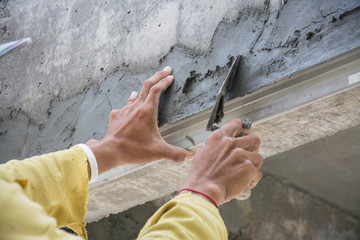
How Do Concrete Contractors Construct a Concrete Chimney?
A concrete chimney is a great choice for a new or remodeled home. However, the concrete will shrink and crack during the construction process, causing the crown to deteriorate. Concrete...
Read More
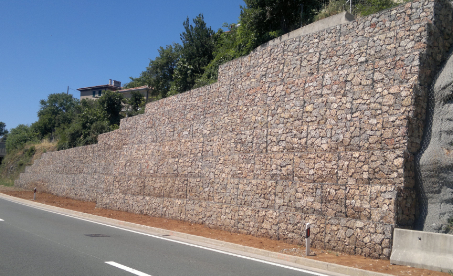
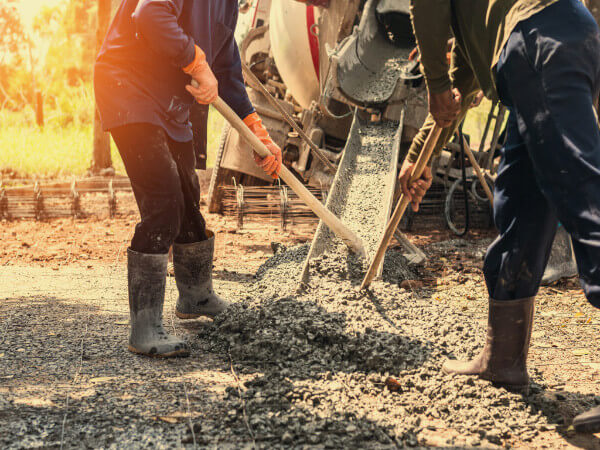
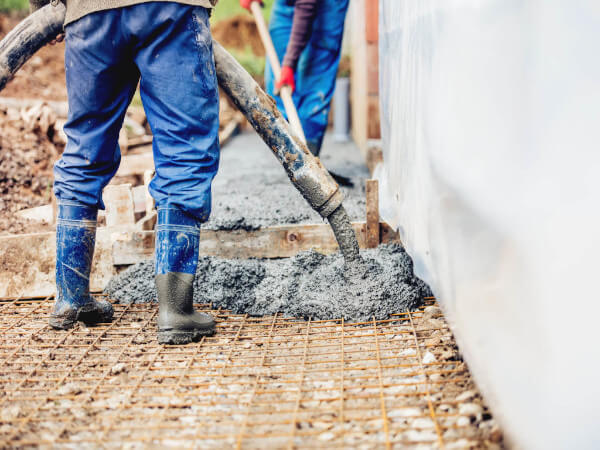
Your Guide to the Most Common Types of Concrete
Concrete is an integral part of the modern world. It’s used to build everything from sidewalks and driveways to skyscrapers and dams, but many people are unaware of just...
Read More
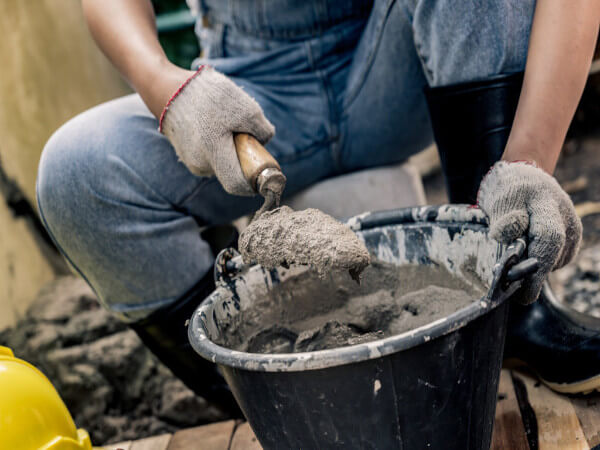
The Dangers of Choosing the Cheaper Option When it Comes to Precast Concrete
Choosing the cheaper option when buying anything is always tempting, but when it comes to precast concrete, this is a dangerous mistake. There are many ways that shortcutting precast...
Read More
Oct 29, How Long it Takes Concrete To “DRY” – Is It 1 Day or 28 Days?
Concrete typically takes between 1 – 2 days to dry before walking on and 7 days before driving on. Concrete is fully cured after 28 days....
Read More